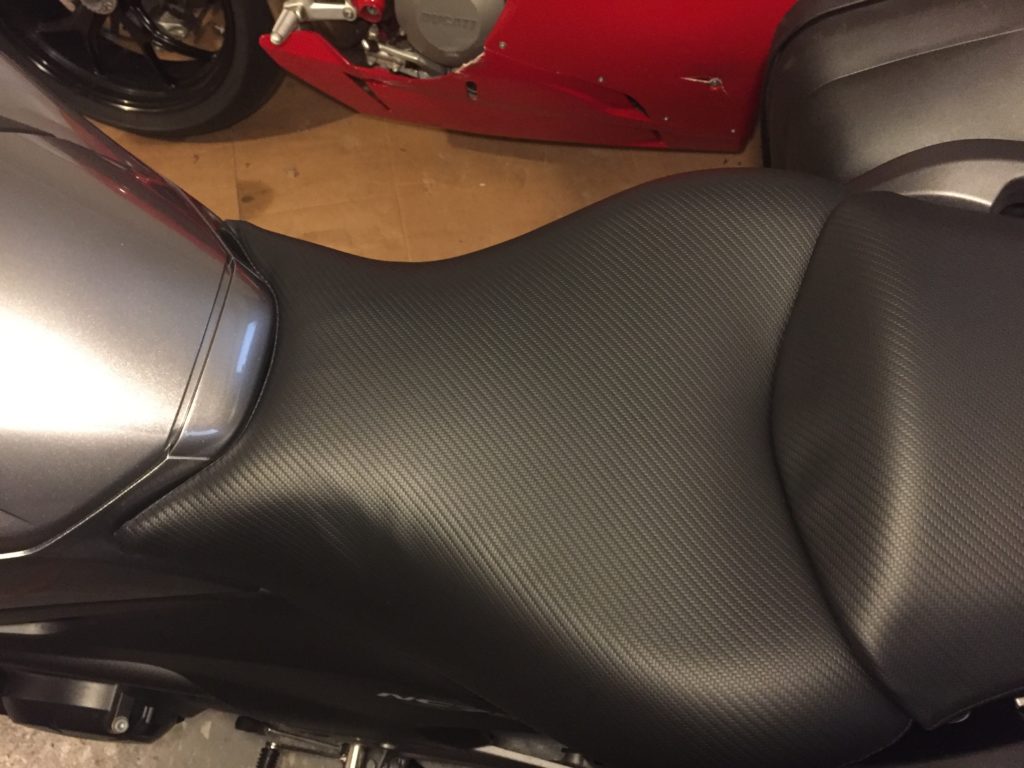
New Seat from Seat Concepts
So I finally got my new seat from Seat Concepts (seat cover and foam for front seat, seat cover for pillion seat) on Monday from parcel office in Point Roberts, and decided to mount it yesterday evening.
First impression was great, I liked the touch and look of the cover and the shape of the foam looked a big wider on the back with a different inclination on the front. I checked some installation videos on YouTube for the Seat Concepts covers, bought a T50 stapler at Home Depot, a pack of staples, a Silicone based spray and a 3M Super 77 adhesive spray, as recommended in the video, and started removing the stock covers on the front and pillion seats.
Removing the cover is super-easy, although takes a bit of time: first I used a flat screwdriver to pull one side of the existing staples, on each seat, then a plier to pull the staples completely. I think the whole operation must have taken me some 30 minutes.
Then I started working on the back seat, first spraying the silicone based solution that would help adjust the cover, then setting the cover to the right position, and finally starting stapling around… That went smoothly, and after around 30 more minutes probably the cover was set and the whole seat looked perfect. According to the videos, the cover was supposed to stay a bit exposed to the sun to be more extensible and flexible, but it was night so I had skipped that step, with no bad consequence eventually.
Working on the front seat was far from being as easy, besides sticking the foam, and I even damaged one of the seams pulling too much on the cover to make it fit. I should have known better: there was a good reason to warm up the cover… I saw afterwards another video showing a guy using a hair dryer for that purpose – too bad I didn’t think about that myself, and too late anyway. So with lot of persistence and a lot of annoyance, I ended setting the cover, but it is not as stretched as it should be, so I’ll have to get back to it this week-end… I don’t like it when things don’t look perfect…
Then I mounted the two seats back on the bike – losing a screwdriver bit somewhere in the bike while at it – and declared the day over.
This said, I went to work – last work day today, yay! – on my new seat, and I have to say it is really much more comfortable. Love it. But I’ll still have to fix it and make it look great!
New Spot Gen3 GPS Tracker
So, when trying to start my bike on Tuesday evening, I got the unpleasant surprise to discover my battery was drained, and I immediately put the blame on my GPS tracker, who’s connected permanently to the battery. Supposedly, a USB regulator I use should have stopped bringing power to the tracker when battery felt below a certain threshold, but well, I guess it didn’t… 🙁 So I disconnected my tracker and used the jump start…
Which led me to think I had to do a few things:
- change the way my USB port is wired; it should only get switched power, so that when the bike is alone, it doesn’t provide power to the tracker anymore and saves the battery
- update my tracker’s firmware to detect the lack of power on the USB connector, send a last GPS position if available and disconnect the cellular module which is the big power consumer of the tracker, then reconnect when power is restored
- buy a commercial reliable tracker, like Spot’s one, which would bring me the ability to send simple messages to family and friends and also allow me to be rescued, in case of bad/life threatening issues…
I will work on the wiring this week-end, hopefully, but my first step was to go and buy a Spot gen3 tracker at London Drugs, set it up, test it and update my tracking page on the blog to point to the new tracker too.
***
Update: seat was adjusted, and I’m happy with the result:


